 |
| Universal, or Quilting Needles. 75/11 or 80/12 |
First how are your tools looking? Do they look a little worn out and tired? Do you think you should probably change your needle this month? :) Ok, seriously, put a new needle in your machine, right now! These are the tools that I like to use...
Freshly Baked Aurifil 50 weight Thread Box. Love, Love, Love this stuff! I use this ALL THE TIME for my piecing, it is so fine, and clean that it doesn't even lint my machine up, and so that means my BERNINA also Love, Love, Loves this stuff!
 |
| Kaye picked these thread colors to match specifically to her Bread & Butter Fabrics, get your little "candy box" of thread today! |
 Straight stitch plates, oh soooo important. Have you ever tried to piece some triangles, and the feed dogs eat half of your point off? How annoying! I bet you weren't using a straight stitch plate. Straight Stitch plates, or Single Hole plates help support your fabrics so your points aren't sacrificed to your lowly feed dogs. Straight Stitch plates also help tremendously with keep your straight stitch nice and well, straight! (This is also the plate that is recommended for doing your machine embroidery, lots of uses for this little guy...)
 Now, here is my tip about how to get your *PERFECT* Quarter inch on your machine (As shown on my BERNINA) Attached in the picture is my #37 foot (1/4 inch piecing foot) I ALWAYS use this for piecing, check out the notches on this foot, they are so helpful when piecing. Now, the key... The dash on the stitch plate is where I line up the edge of my fabrics for piecing my 1/4 inch seam. If you line up your fabrics here, they will be lined up with 1/4in edge of the foot. If you wait until your fabric gets to your presser foot to line up the fabric, it is too late, you can't easily adjust your fabric once it is sandwiched between the presser foot and the feed dogs. Make sure you are sewing slow enough that you can take the time to line this up.
 Are you using your Free Hands System?

I always piece with my Needle set in Needle Down Position, and I typically lengthen my stitch out. Kaye says, "you don't need the added thread of smaller stitches in your piecing, so don't add it". I usually lengthen my stitch to about 2.5-2.75 mm.


Is Easing allowed, even with Smart Piecing? Yes. I ease parts of my blocks together, ONLY because I do not hot iron press the blocks until the entire block is finished. This is how I ease...
I line up the top corner of my two pieces. I don't worry about the bottom corner, because I am not there yet. I do not use any pins when constructing blocks.

Then, take 3-4 stitches into the block. Stop with Needle Down, and then line up the bottoms of the blocks, allow the more heavily pieced portion of the block (in this example, the top piece) to be stretched to fit the size of the bottom piece. Try not to let the bottom piece be stretched, as this will distort your block.
After your block is completely pieced. Then I hot iron press it.
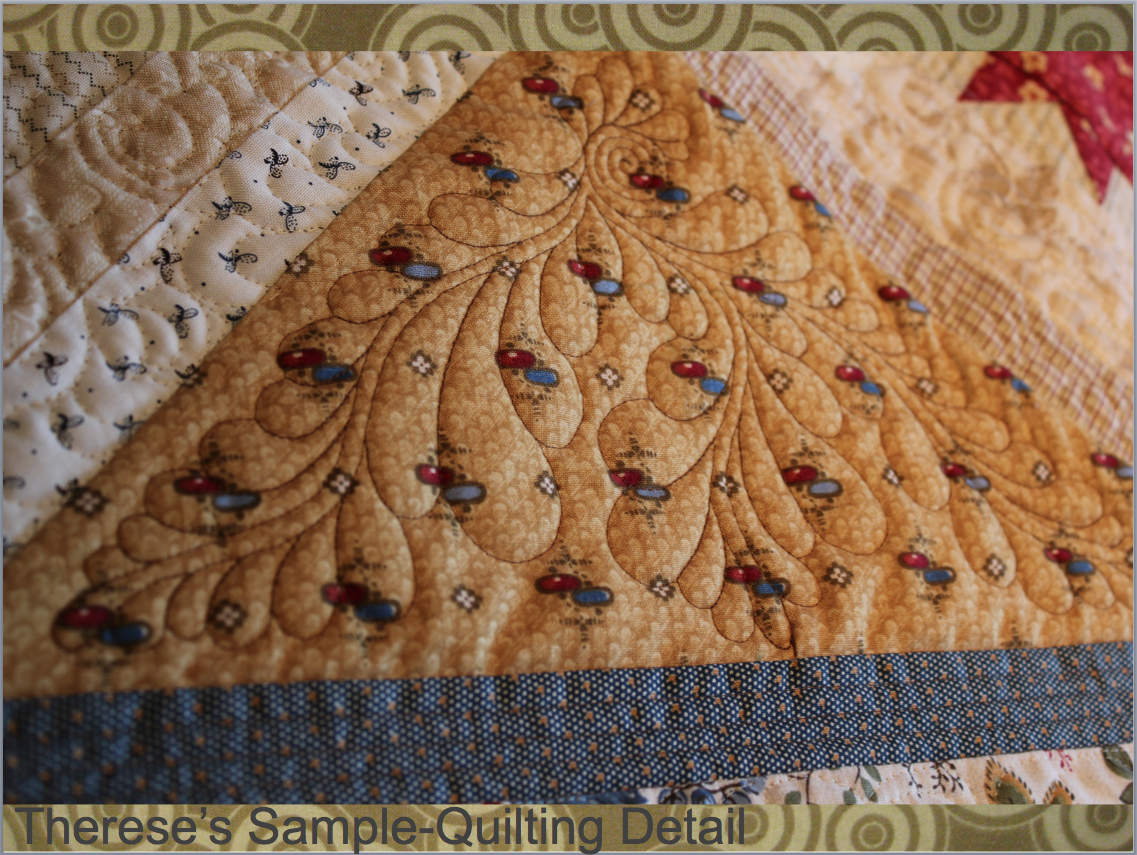
Quilting Detail from my project. *Note, this was done with my embroidery machine. Come to Embroidery Secrets in March to see all the details of this!

~therese